
Do you want to add meta tags to your WordPress website without using any plugins? Then you’ve come to the right article.
Meta tags can help boost your website’s SEO performance in search engine results, but not everyone knows how to properly add them to their website. That is why we’ll show you how to add them to your website properly.
Installing too many plugins on your WordPress website will slow down its speed. If you are like me and don’t like having too many plugins installed on my website, you have come to the right article.
In this article, I will show how to add meta tags to WordPress without using a plugin. I will show a simple method that includes adding some code to your website, and if you are not comfortable with that, I will show another method to add meta tags to WordPress using a plugin.
Ready? Let’s get started.
What are Meta Tags in WordPress?
Meta Tags are HTML elements that provide additional information about your website to search engines such as Google. In WordPress, Meta Tags are an essential part of search engine optimization (SEO) when it comes to optimizing your WordPress website.
With properly integrated meta tags on your website, search engines can quickly understand the content of your website and how it should be ranked in search results, as it can only be seen by search engine crawlers, not by your site users.
They are not visible on your website’s pages or posts; they are only available for crawling in the source code of your HTML content. This is known as the snippet of HTML code that helps you rank high on search engines based on the information you provide in the meta tags.
Examples Of Meta Tags
There are various types of meta tags that you can apply to your website to help improve its ranking and traffic. Here are three of the most important to consider:
- Title Tag: Title tags are one of the most important tags that you need to include on your website to help search engine crawlers learn more about the main topic of the page, as this is the title of your webpage that displays in search engine results.
- Meta Description: This is a short description of your website page that shows in search engine results. It is between 150 and 160 characters long and appears below the title in SERP. It informs readers and search engines about your topic and what you intend to cover in your website post.
- Meta Keywords: These are keywords that describe the content of your website’s page. They used to be important for SEO, but search engines like Google no longer place a lot of focus on them.
How to Add Meta Tags in WordPress
Now that you understand what meta tags are and how to use them, let’s have a look at how to add meta tags in WordPress. We’ll show you two methods. One method does not require the use of a plugin, while the other does (which is recommendable).
Method One: Adding Meta Tags in WordPress Without Plugin
In this method, we’ll show you how to add meta tags to your WordPress website without using a plugin. In this method, you’ll need to add some code to your website’s files using a file manager or secure file transfer protocol (SFTP), whichever you choose.
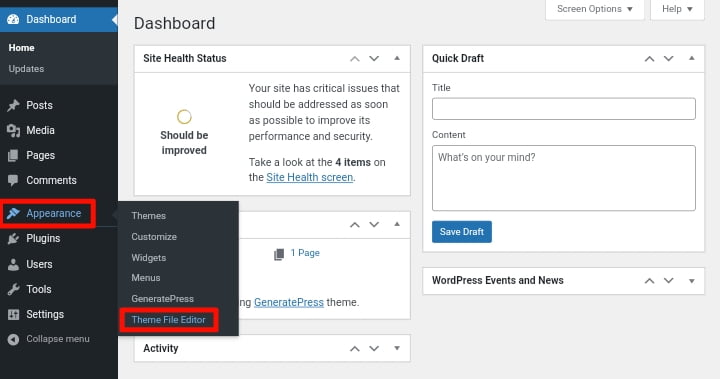
You can either add it from your hosting provider’s dashboard by going to file manager and then to “public-html » wp-content » themes” and then selecting your website theme and adding the code there, or you can add it directly from your WordPress dashboard by going to “Appearance » Theme File Editor” which we will show you how to do.
For security reasons, you should consider creating a backup of your website before beginning so that if something goes wrong during the process, you can easily restore the backup to the original version.
After that, from your WordPress admin dashboard, click “Appearance » Theme File Editor.” This will take you to your WordPress website files, where you can add the code to the Header section.
Now, locate and open the “Theme Header” file, and then look for (header.php) and click on it to open the file where you will add the code.
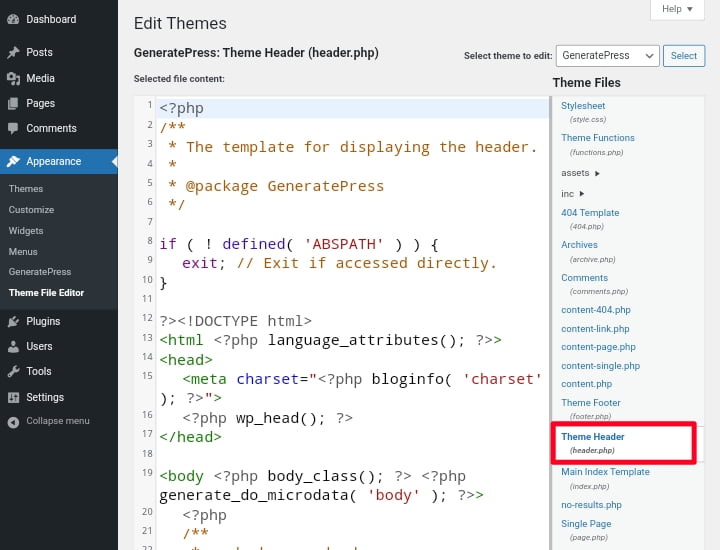
To simplify the process, copy and paste the below generic HTML code examples for the title tag, meta description, and meta keywords into the header’s head tag. Replace the words with your website title, description, and keywords.
HTML code for the Title Tag:
<meta name="title" content="put the title name for the content of your website here" />HTML code for the Meta Description:
<meta name="description" content="put the meta description for the content of your website here" />HTML code for the Meta Keywords:
<meta name="keywords" content=" put the keywords related to the content of your website here" />Once you’ve finished adding the code for the meta tags you want to add to your website, simply click on the “Update File” button to save your changes.

If you are not comfortable adding code to your website files and prefer an easier option, WordPress includes an “Excerpt” feature that allows you to add meta descriptions to your blog post at any time before publishing it.
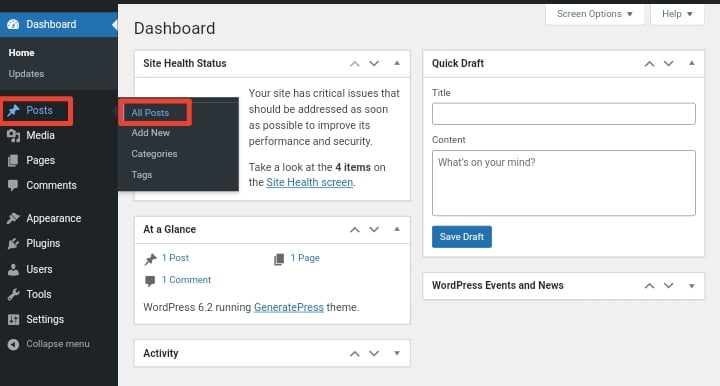
To achieve this, navigate to “Posts » All Posts” in your WordPress admin dashboard. This will display all of the posts you have published or drafted on your WordPress website.
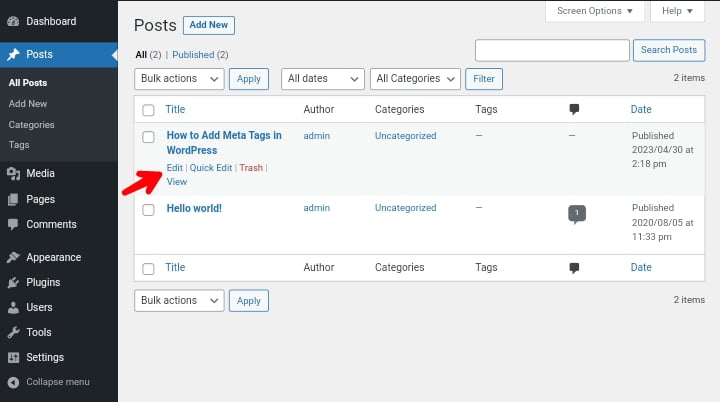
Select the post to which you want to add a meta description and then click the “Edit” button (as shown in the screenshot below).
The post editor will open after you click the “Edit” button. If you’re using the default Gutenberg editor, look in the sidebar under the “Post” tab for the “Excerpt” option (as shown in the screenshot below).
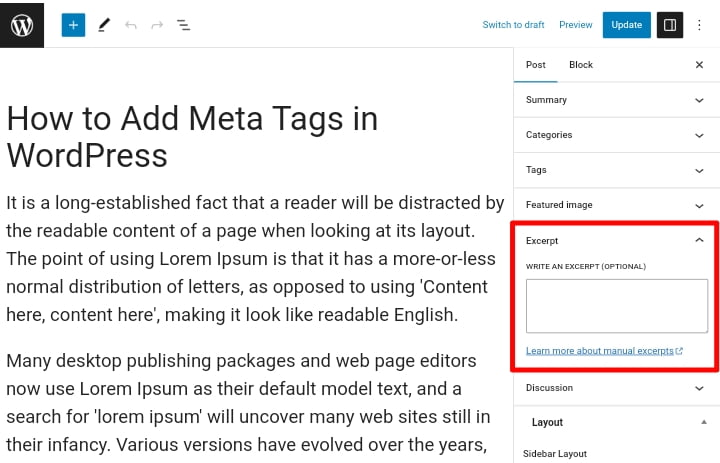
Enter or paste the meta description for that specific post into the Excerpt box and save your changes. If you don’t know how to write a meta description, you can use AI Content Writer to get ideas.
This method will not work for users using the WordPress Classic Editor; instead, open the post and click on the “Screen Options” tab in the top-right corner of the screen (Classic Editor users only). Enable the “Excerpt” checkbox from the dropdown menu (as shown in the screenshot below).
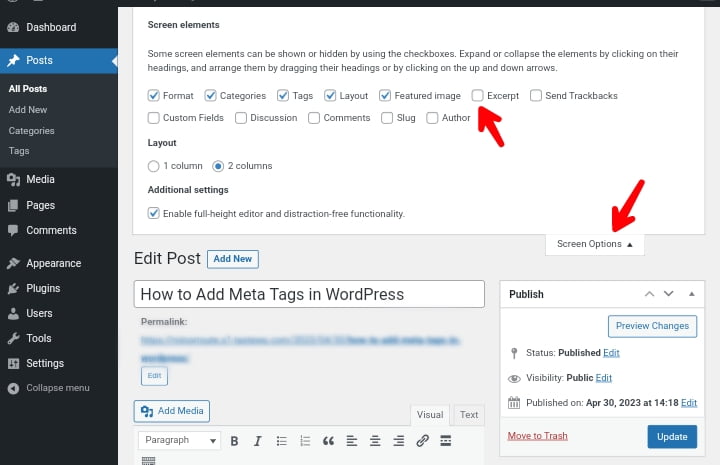
The Excerpt box is now visible below the post editor. Write a brief summary of your post in the Excerpt box, which will appear as the meta description for your blog post, and save your changes.

Method Two: Adding Meta Tags in WordPress With Plugin
Using a plugin, like an SEO plugin, will help speed up the process of adding meta tags to your WordPress website. We recommend using this method if you don’t want to add code to your website files, which can sometimes damage your website if done wrongly.
I’ll show you how to do those with one of the most popular SEO plugins, RankMath. There are other SEO plugins, such as “Yoast SEO” and “All In One SEO“, but we prefer RankMath. Whichever one you choose is great because they all have the same features.
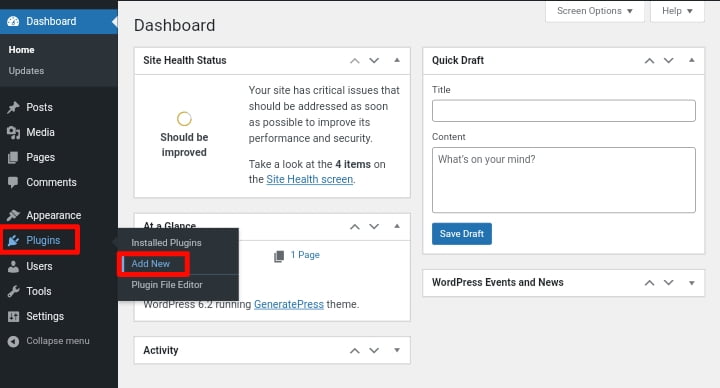
If you don’t have an SEO plugin installed on your website, which you should if you want to improve the SEO performance of your WordPress website, navigate to “Plugin » Add New” from your WordPress dashboard.
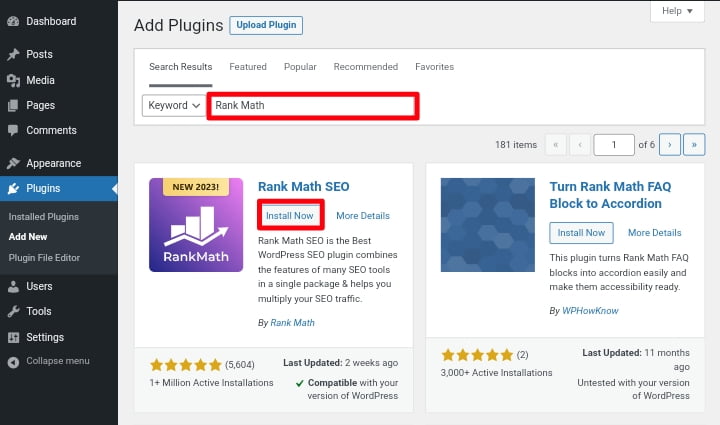
And then search for “Rank Math” click the “Install Now” button and activate it once it is done installing. You can skip this step if you already have an SEO plugin installed, such as Rank Math or the rest.
Now, to add the meta tags to your website, open the post or page to which you want to add the meta tags and then click the Rank Math icon in the top right corner of the WordPress menu.
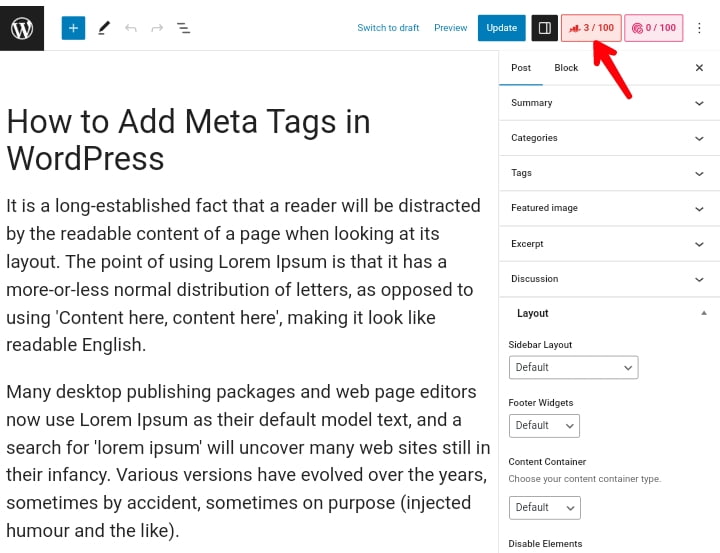
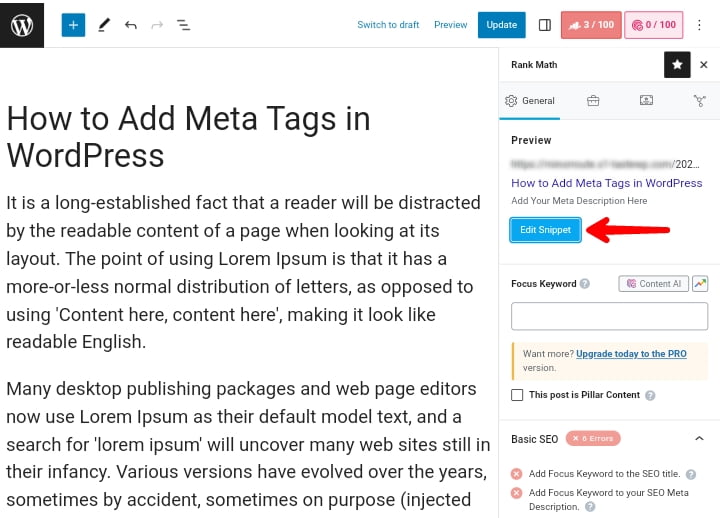
Next, in the Rank Math General tab, click the “Edit Snippet” button to open the window where you can add the post’s title and description, as shown in the screenshot below.
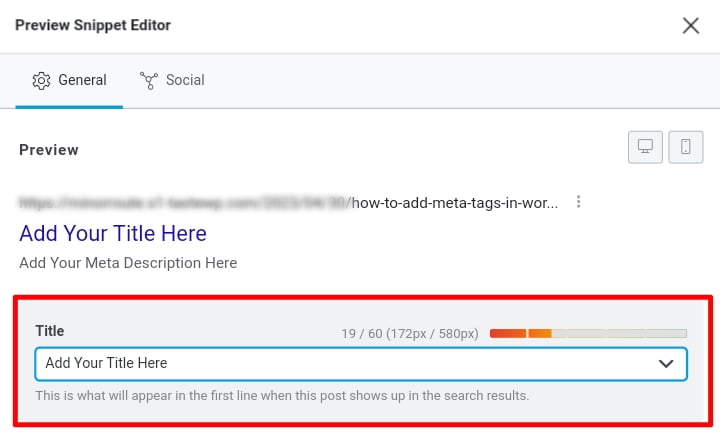
When you click the Edit Snippet button, you’ll be taken to a new window where you can change the title in the “Title” area. In this field, enter the post’s title.
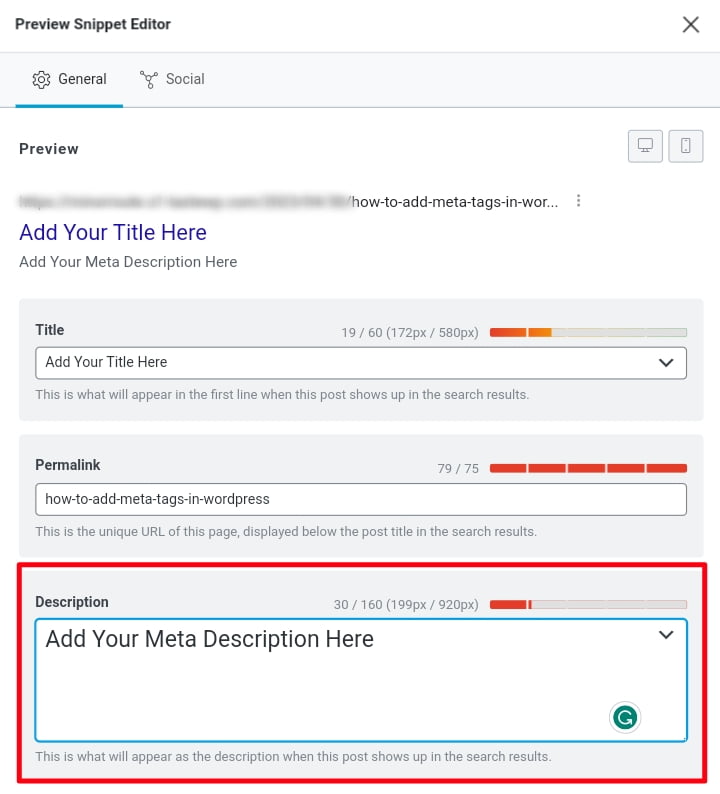
After that, scroll down to find the “Description” area, where you can enter your post’s meta description with the recommended word count of 27 to 160.
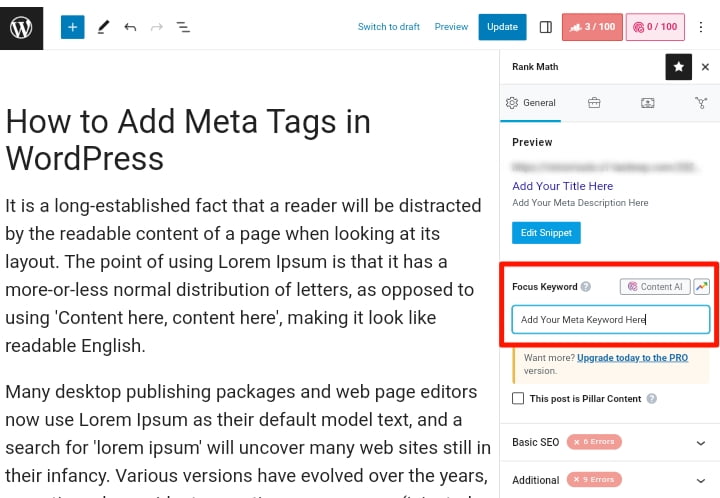
Finally, to add meta keywords to your post, return to the Rank Math General tab and enter the keywords related to your post in the “Focus Keyword” section.
That’s it! you can now save your changes and you are done. Whichever method you choose is fine, whether it is with or without a plugin; all you have to do is carefully follow the process, and the search engine will begin crawling your website using the meta tags you provided.
We hope you found this article helpful. If you liked it, please share it on social media with others, especially those who want to add meta tags to their WordPress website, and if you have any questions please leave them in the comments section below.
Recommend Reading Next: How To Submit Your Website To Google Search Console


Special Web Hosting Offer | $2.99/mo