
Do you want to add an Ads.txt file to your WordPress blog? If so, you’ve come to the right guide. I’ll show you how to create and upload an Ads.txt file to your WordPress blog.
As soon as you are approved or in the process of getting approved by Google AdSense, you will be prompted to add an ads.txt file to your blog before you can start earning money from Adsense.
As a beginner who has just started a blog, you may find it difficult to add the ads.txt file to your site, which is why I will explain how to do so quickly in this article. We’ll show you two methods for adding the ads.txt file to WordPress.
Ready? Let’s get started.
What is An Ads.txt File?
An Ads.txt file is a basic text file that has information on the advertising networks that are allowed to sell advertising inventory on a website for a certain domain. This file enables advertising networks like Google to confirm that the publishers running adverts on a website are permitted to do so.
If you’re wondering what “Ads.txt” stands for, it’s “Authorized Digital Sellers“. The file contains a list of the ad networks or exchanges permitted to sell a publisher’s inventory as well as their unique identifiers, which helps in the prevention of unlawful ad inventory sales.
The ads.txt file needs to be placed on the root domain of the website where the publisher wants to place advertising (for example, www.example.com/ads.txt). The ads.txt file format is straightforward, with one line per authorized seller.
Each line must contain the publisher account ID, account type, certification authority ID, and domain, for example, “google.com, pub-0000000000000000, DIRECT, f08c97fed0842fa0“.
Why Add Ads.txt File in WordPress?
Ads will not be displayed on your blog unless you include the Ads.txt file in your WordPress blog. Advertising networks, like Google Adsense, usually want you to add the ads.txt file to your blog after getting approval for ads to start showing on your blog.
Not only that but here are some other reasons why you should add an Ads.txt file on your WordPress blog.
- Prevents ad fraud: Ad fraud is a major issue in the digital advertising market, and it can take many forms, such as domain spoofing, bot traffic, and fraudulent impressions. You can limit the risk of ad fraud by adding an Ads.txt file on your WordPress site to specify which ad networks are authorized to sell your inventory.
- Increases revenue: Adding an ads.txt file on your WordPress site can boost your revenue potential. You make it easy for advertisers to believe they are purchasing legitimate impressions by displaying the approved suppliers of your inventory.
- Complies with industry standards: The Ads.txt standard was created by the Interactive Advertising Bureau (IAB) Tech Lab to increase transparency and reduce fraud in the programmatic advertising ecosystem. By adding an Ads.txt file on your WordPress site, you show that you conform to industry standards.
How To Create and Add Ads.txt File In WordPress
You can create the ads.txt file straight from Google Adsense even if you do not have approval, alternatively, you will receive a notification from Google Adsense to download the ads.txt file and add it to the website where you want the ads to appear.
To create your Ads.txt file, log in to your AdSense account using the email or Google account you used to create the AdSense account by clicking here.

When you arrive at the AdSense dashboard, you will notice a message at the top bar that says “Earning at risk“. Simply click the “Fix now » Copy” button, as shown in the screenshot below.
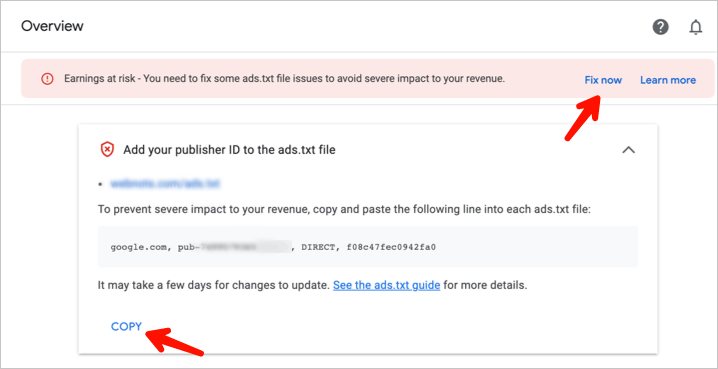
The file will then be instantly downloaded to your phone or computer, depending on which device you use, and you will have to upload it to your WordPress website.
We’ll show you two methods to add the ads.txt file to your WordPress website. The first method is to upload it straight through your hosting provider’s file manager setting, while the second method is to use a WordPress plugin.
Method One: Adding Ads.txt File in WordPress Without Plugin
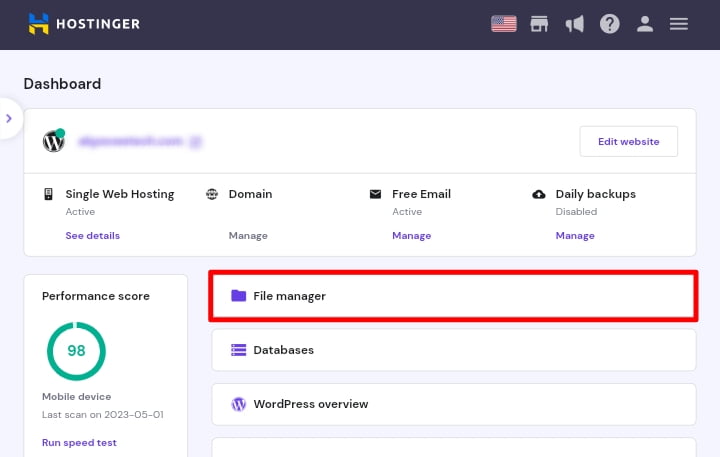
This first method would require you to manually upload the ads.txt file from your website’s cPanel and then open the file manager. If you are using Hostinger as your hosting provider, you can easily find the file manager tab from the Hpanel.
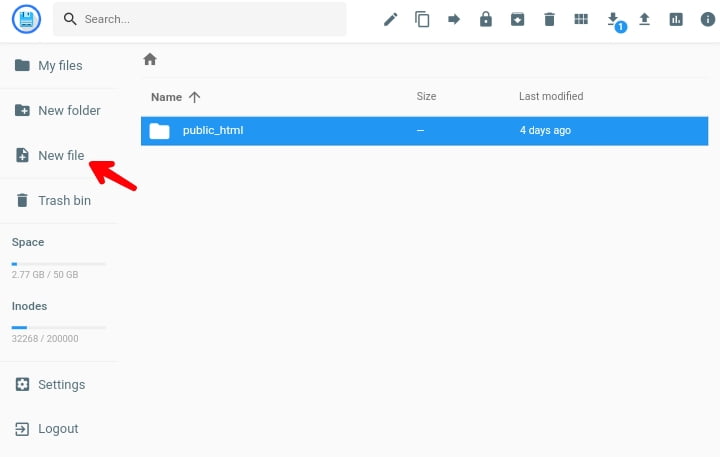
Once on the file manager tab, quickly navigate to the “public_html” folder and create a new file called “Ads.txt“. Once finished, upload the file or copy the code inside the file and paste it into the Ads.txt file you created and save it.
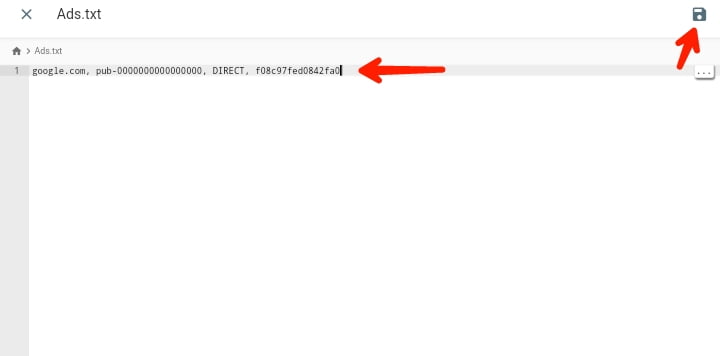
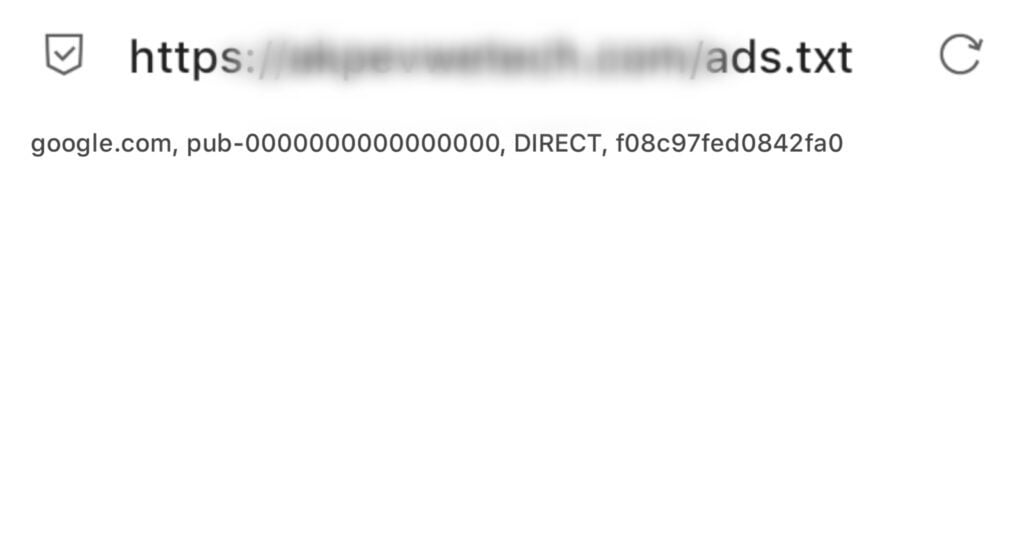
To confirm whether the ads.txt file was successfully added to your website, add “ads.txt” to the end of your domain, as in “www.yourdomain.com/ads.txt.” If you see exactly the same code that you added to the file, it means you successfully uploaded the Ads.txt file to your WordPress blog.
If you are uncomfortable with this method and prefer a more straightforward option, then you will like the next method which will allow you to add the file to your website with a single click using a WordPress plugin.
Method Two: Adding Ads.txt File in WordPress With Plugin
Using a plugin is the simplest way to add an Ads.txt file to WordPress. There are many plugins available on WordPress that solve the Ads.txt file issue. However, I highly recommend you use the Ads.txt Manager plugin.

The Ads.txt Manager is a popular WordPress plugin that allows you to add Ads.txt files from any advertising network to your website, and the best thing is that it is completely free to use.
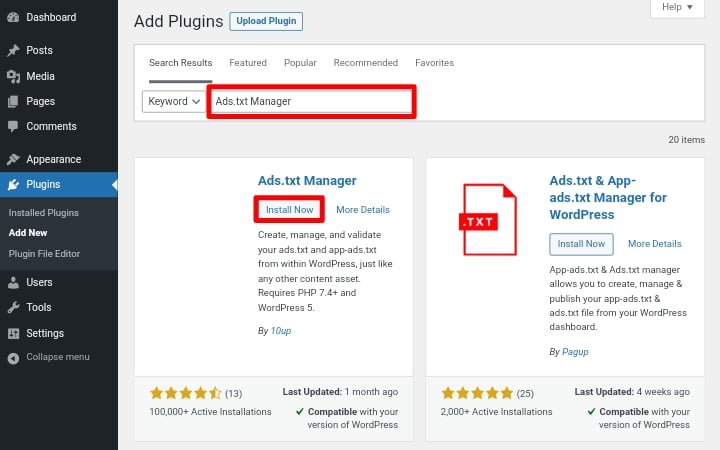
To start using the plugin, you first need to install and activate it. Log in to your WordPress dashboard and navigate to “Plugins » Add New“, which will take you to the plugin installation page.

Search for “Ads.txt Manager” from here. Once you find the plugin, click the “Install Now” button and wait for it to install. Once it is installed, activate it and you can start using it.
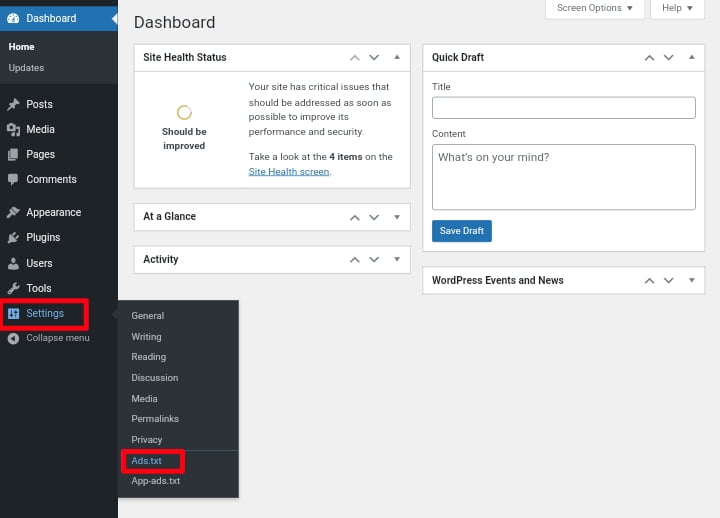
To add the Ads.txt file, navigate to “Settings » Ads.txt” and modify the plugin settings. As you can see in the screenshot below, there is a white box where you can enter the code. In our example, we must add the AdSense code to resolve our Ads.txt issues.
In the white box, paste the Ads.txt file for any advertising network you’re using on your website, whether it’s Ezoic or Google Adsense, and then click save to save your changes. The code for Google Adsense that you need to add is listed below.
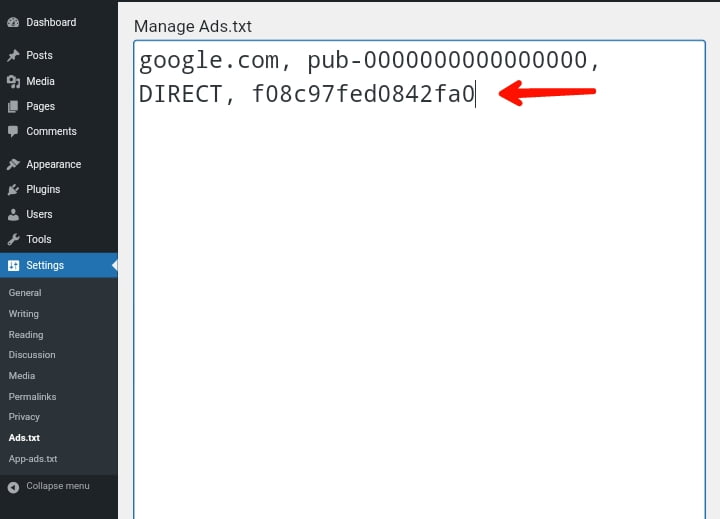
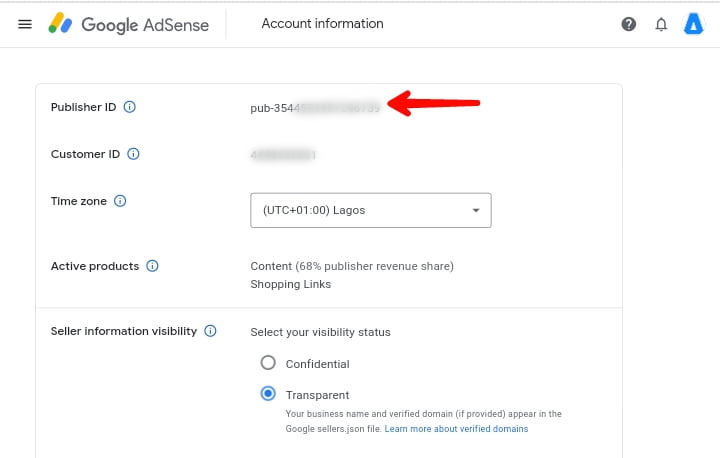
google.com, pub-0000000000000000, DIRECT, f08c47fec0942fa0Keep in mind that you have to replace “pub-0000000000000000” with your Google AdSense publisher ID. Go to “Account » Settings » Account Information” to get your Google AdSense publisher ID.

In case you’re curious about how the code line works, here’s a breakdown of it.
- google.com: This is the domain of the company that is authorized to sell or resell your ad inventory in this example, Google.
- pub-0000000000000000: This is your own unique Google AdSense publisher ID (simply replace it with yours).
- DIRECT: This is the publisher’s relationship (it can be either DIRECT or RESELLER). DIRECT means that the publisher works directly with the AdTech vendor. While RESELLER means that the publisher has given permission to a third party to resell on their behalf.
- f08c47fec0942fa0: This represents an ID of the advertising platform that you are using.
That’s all there is to it, and after following one of the methods given above, whether with or without a plugin, you should be able to fix the ads.txt issues you have with Google Adsense and start showing ads on your blog to earn money from it.
We hope you found this article helpful. If you liked it, please share it on social media with others, especially those who want to add the ads.txt file to their WordPress website and if you have any questions please leave them in the comments section below.


Special Web Hosting Offer | $2.99/mo